


Prepare your Suica — illustrative travel scene

A deeper guide to tickets & IC cards

Prepare your Suica

Choose a card that fits your trip.
Get ready before the first gate.

✿ What you will learn ✿

Set up on your phone or buy a physical card?
Compare your trip length, device and top-up options,
then follow the steps for your chosen route.

✿ Key points ✿

Prepare your Suica — illustrative travel scene

✿ Contents ✿

  1. 1. Choose the right Suica 〉
  2. 2. Buy a physical card 〉
  3. 3. Check your phone first 〉
  4. 4. Issue your mobile card 〉
  5. 5. Top up, then make one journey 〉
  6. 6. Handle errors & finish your trip 〉

✿ Frequently asked questions ✿

Q Do I need Suica if I land in Osaka? +

Not necessarily. Check an IC card sold by the operator where you arrive and whether it covers your planned journeys. You do not need to travel to Tokyo just to obtain Suica.

Q Can I prepare Welcome Suica Mobile before flying? +

Sometimes. First check device and app-country availability. JR EAST says issuance or top-up may be restricted in some countries until you arrive in Japan; location services are required. Keep a fallback for your first journey.

Q Can one phone card cover my whole family? +

Do not assume so. Each person normally needs their own fare medium for gate entry. Ask the operator about child fares and suitable cards; Apple Pay also has age restrictions.

1Choose the right Suica
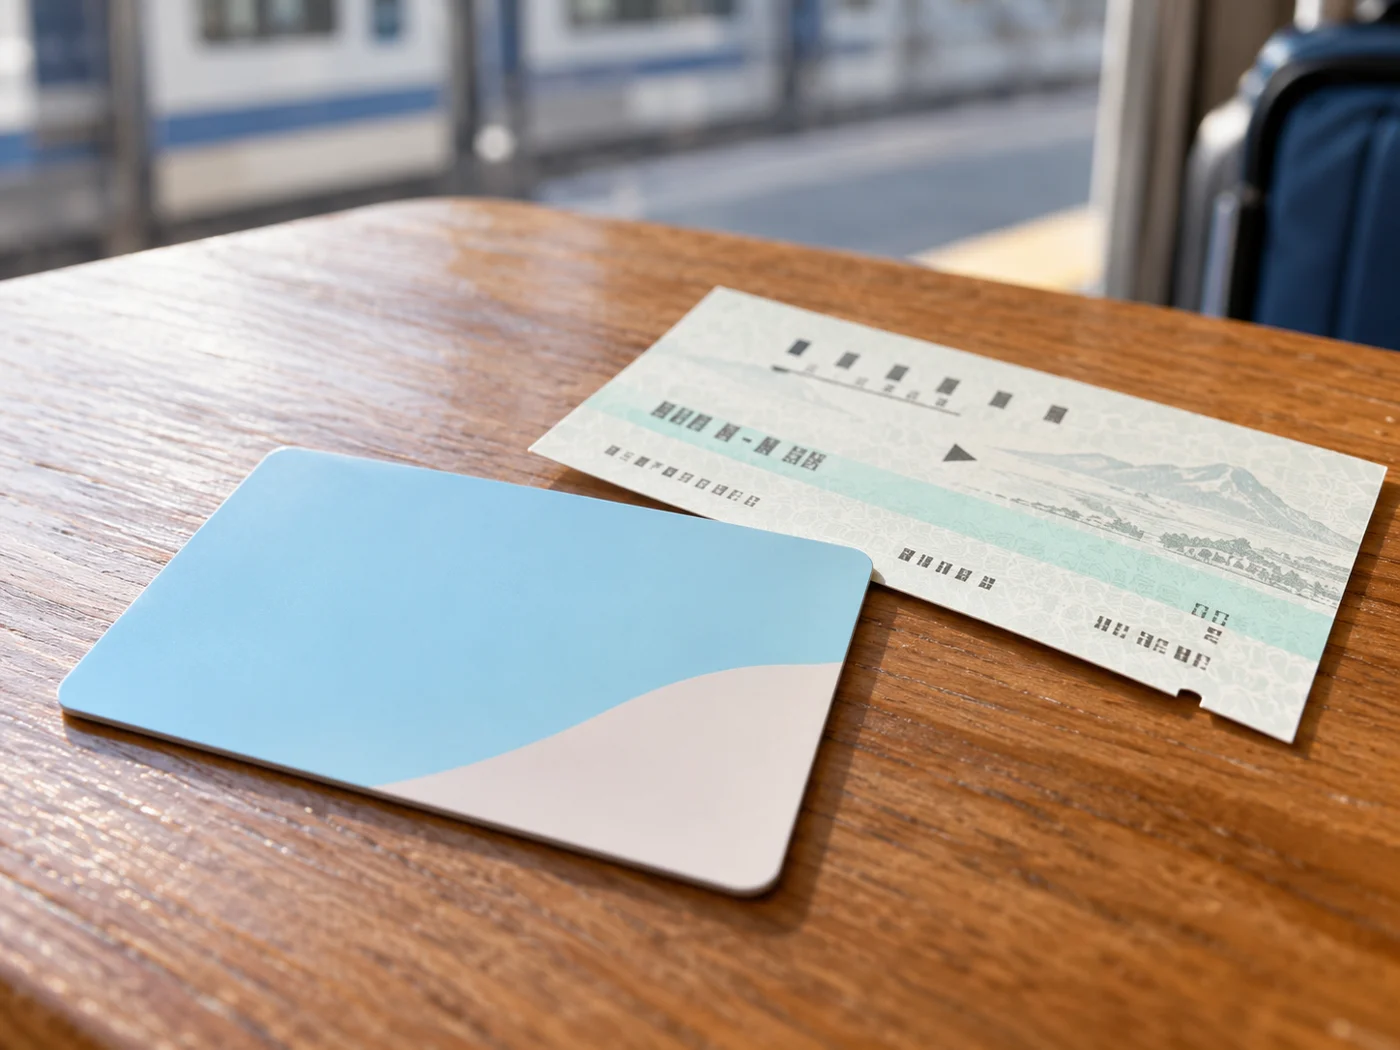
A transport card and paper ticket on a table

Start with the product, not the app name. A physical Welcome Suica suits a short visit without phone setup. Welcome Suica Mobile is an iOS visitor service. Regular Suica and regular mobile services are alternatives for repeat trips or daily life. If you already have a compatible IC card, check it before buying another.

These options do not make every train ticket unnecessary. Choose for your device and stay; there is no need to buy a new card simply because you are a visitor.

Remember this!
  • Match the expiry to your whole stay.
  • Keep a cash or paper-ticket backup.
See the steps and checks
Suica options at a glance
OptionBest starting pointCheck first
Physical Welcome SuicaShort visit; no compatible phone needed28 days including purchase day; unused balance normally not refundable
Welcome Suica MobileVisitor with a supported iPhone180 days from issuance; no ordinary unused-balance refund; country and device limits
Regular physical SuicaRepeat visitors or daily use without phone setupCheck current sales points and issuer refund procedure
Regular Suica in Apple WalletSupported iPhone / Apple Watch usersSeparate device and payment-card requirements from Welcome Suica Mobile
Regular Mobile Suica on AndroidPeople with a listed supported Android deviceExact model, account setup and supported top-up methods
  1. Use the comparison, then follow section 2 for a physical card or sections 3–4 for mobile.
  2. For a child fare, ask the operator about an age-appropriate physical card; do not assume an adult phone card can charge a child fare.

Official guidance checked 2 October 2026
2Buy a physical card

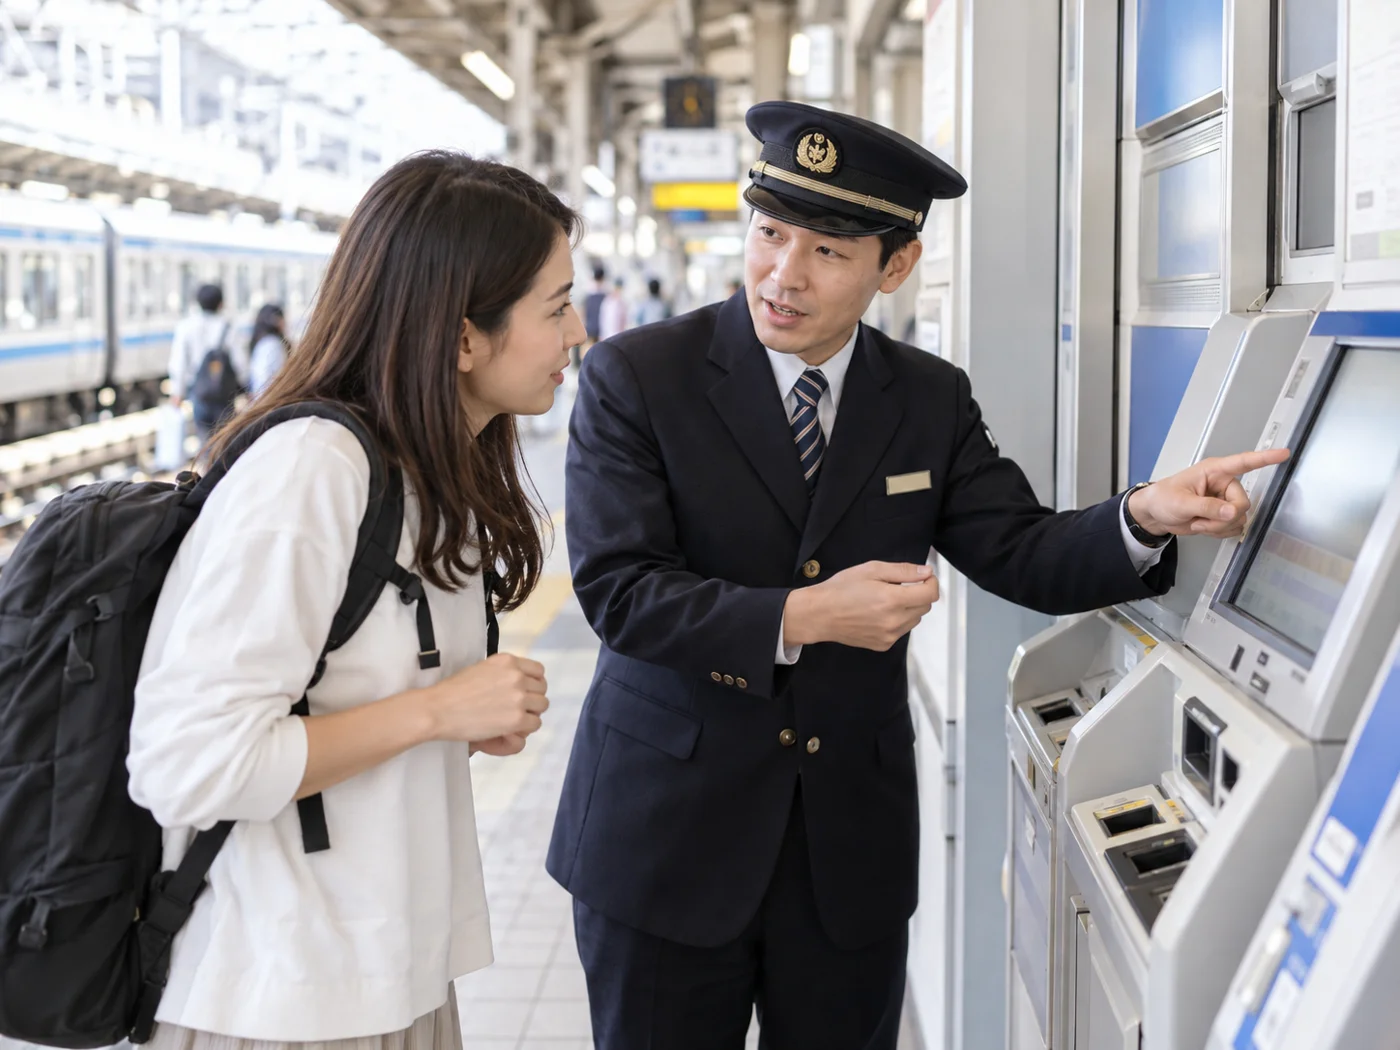
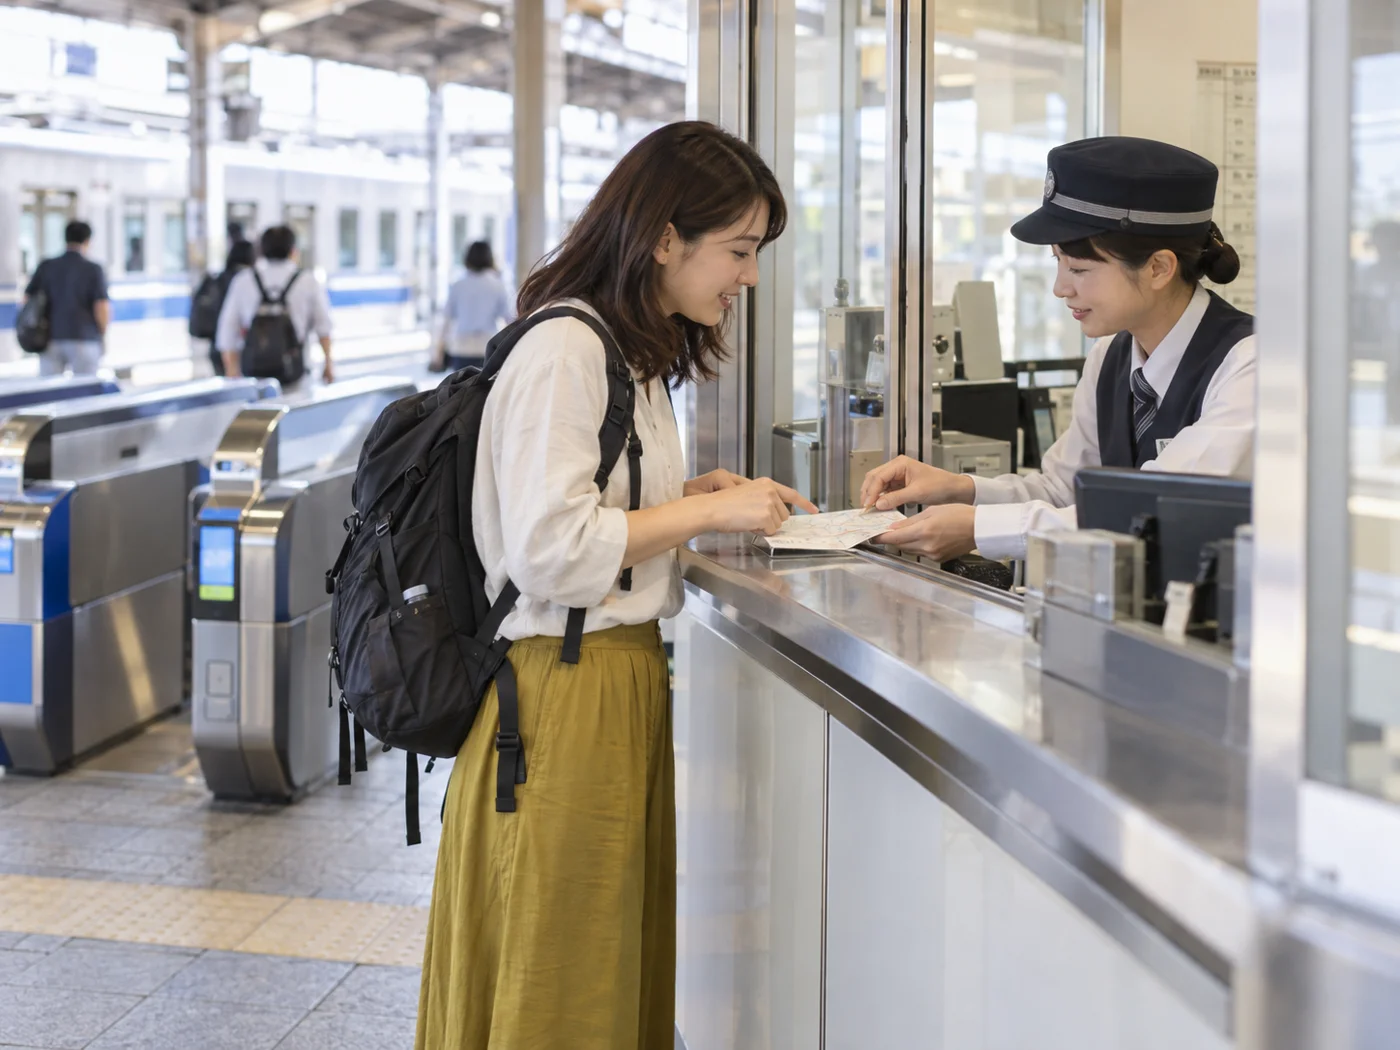
A traveler asking station staff about a ticket machine

Use JR EAST’s current sales-location list rather than assuming every machine sells Welcome Suica. At an eligible machine or staffed counter, select the correct adult/child product and initial amount. Keep the issued reference paper with the card: it shows the expiry and must be shown if staff request it.

A staffed counter is useful when buying a child card or checking an unusual journey. Sales points and opening hours can change; a paper ticket is a reasonable first-trip fallback.

Remember this!
  • Find an eligible sales point before arrival.
  • Keep the reference paper and card together.
See the steps and checks
  1. Open the official sales list and confirm your airport terminal or station and counter hours.
  2. Check the product name and adult/child choice before paying. Ask about any ID needed for the child card.
  3. Before leaving the machine, collect the card, change and reference paper.
  4. For regular physical Suica instead, check the separate official Suica sales guidance and ask which product fits your stay.

Official guidance checked 2 October 2026
3Check your phone first

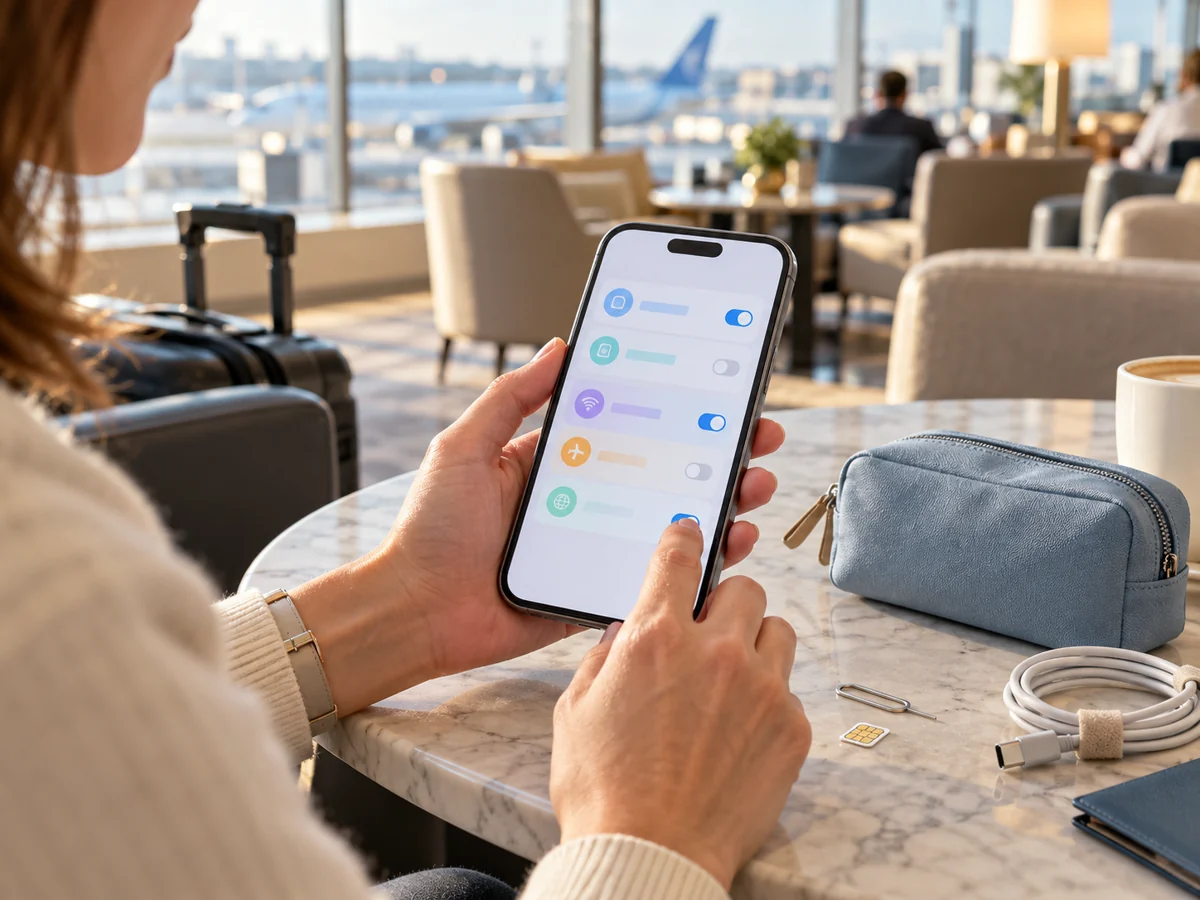
A traveler preparing a phone at an airport lounge

Welcome Suica Mobile currently requires an iPhone XR/XS or later with iOS 17.2 or later; keep software updated and check JR EAST’s current list. Its app availability varies by country. Regular Suica in Apple Wallet has a separate compatibility route. On Android, check your exact model in JR EAST’s list; NFC or Google Wallet alone does not prove Suica support.

Visitors using an overseas phone should verify the model and purchase region. Residents with a supported Android device can follow regular Mobile Suica setup. An incompatible phone is a reason to choose a physical card, not to change security settings.

Remember this!
  • Check the exact model, OS and service.
  • Do not treat all mobile Suica products as identical.
See the steps and checks
  1. For Welcome Suica Mobile, check supported devices and download availability before departure.
  2. For Apple Wallet, check Apple’s device, Apple Account, authentication and eligible payment-card requirements.
  3. For Android, check JR EAST’s model list and regular Mobile Suica registration requirements.

Official guidance checked 2 October 2026
4Issue your mobile card

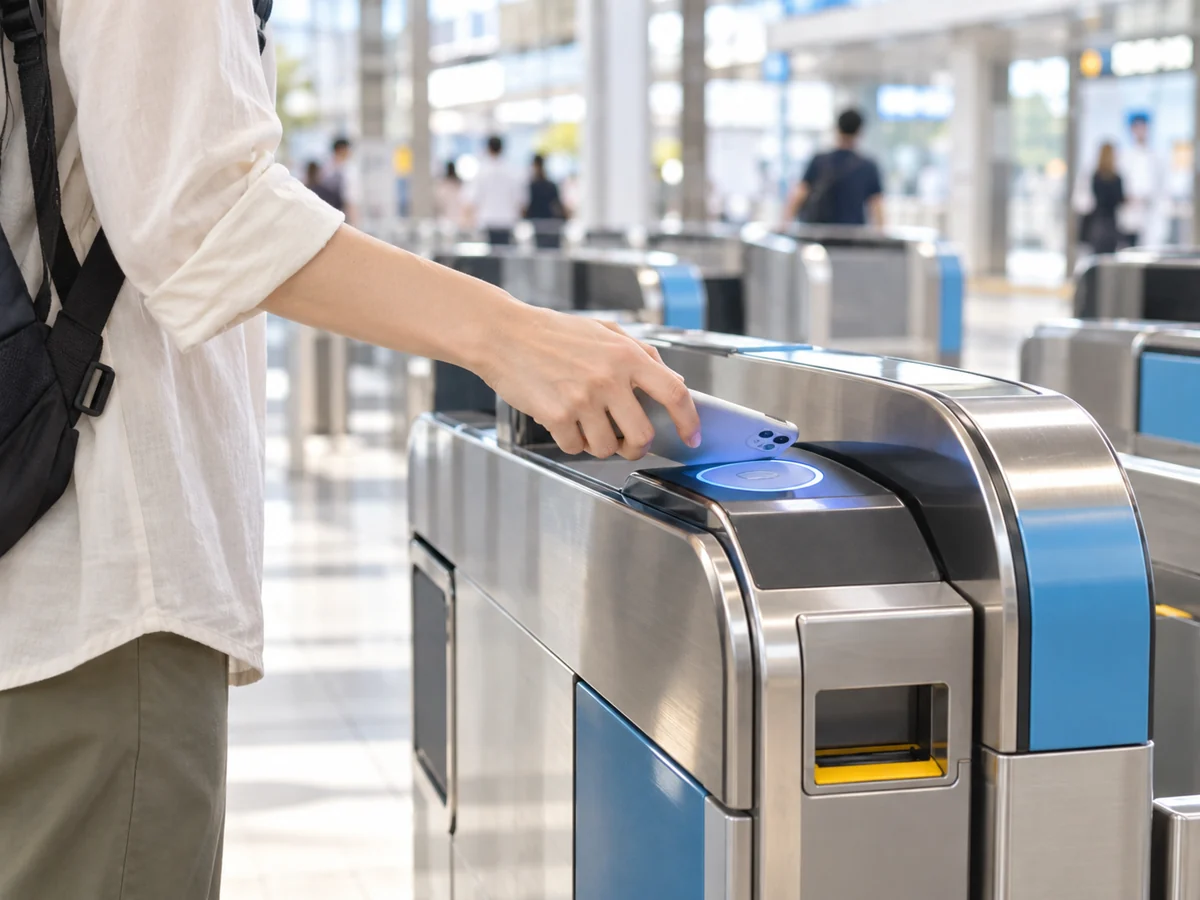
A traveler tapping a phone on a station gate reader

Choose one setup route. Welcome Suica Mobile asks you to set a secret keyword and enable location services for issuance and top-up; some countries restrict these actions until you reach Japan. For regular Suica, Apple Wallet has its own Transit Card flow. Payment-card support can depend on the issuer; do not rely on a blanket promise that every foreign card works.

Complete setup on a reliable connection before reaching the gate. Keep the support keyword private and available to you. Screens and labels can change, so use the current official instructions alongside this checklist.

Remember this!
  • Confirm the card and balance appear.
  • Check which device holds your Express card.
See the steps and checks
  1. Welcome Suica Mobile: download the official app, follow registration, securely keep the secret keyword, enable required location access, then issue and top up.
  2. Regular Apple Wallet route: open Wallet, choose Add → Transit Card → Suica → Add New Card, choose an amount and complete confirmation.
  3. Check Express Mode/card settings. A card moved between iPhone and Apple Watch is held on only one device at a time. Do not transfer it during a journey.
  4. Regular Android route: use JR EAST’s official Mobile Suica app on a supported model, follow its account registration and required device settings, then choose a supported top-up method. Do not use Welcome Suica Mobile’s iPhone steps.

Official guidance checked 2 October 2026
5Top up, then make one journey

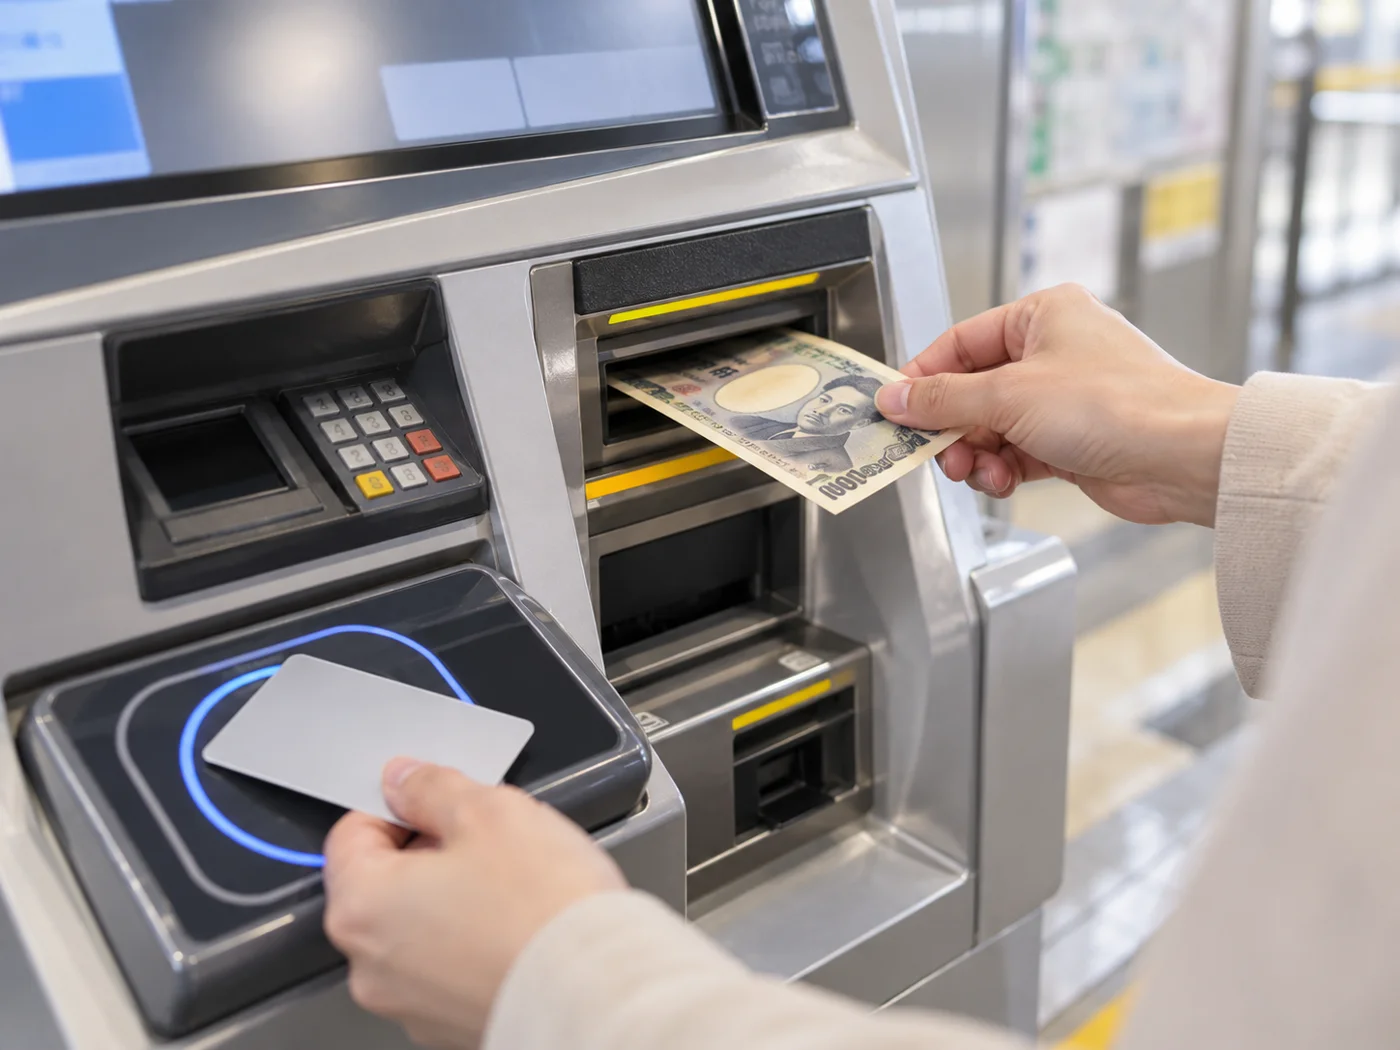
Topping up a physical transport card at a machine

For physical Welcome Suica, use yen cash at supported machines or other listed top-up points; credit-card top-up is not supported. Mobile top-up uses the methods supported by that service. Use the same card or device to enter and exit, with enough balance. Separately check limited-express or Shinkansen tickets and any linked booking.

Interoperability does not mean unlimited nationwide travel: a stored-value journey generally cannot cross separate IC areas. Show the full route to staff before boarding if unsure.

Remember this!
  • Keep the same card from entry to exit.
  • Load only what you expect to use.
See the steps and checks
  1. Check balance and the whole journey before entering.
  2. If a mobile payment fails, check connection, supported card and service-maintenance notices; keep a cash/top-up or paper-ticket alternative.
  3. At the gate, present one card or the device holding the card. Do not stack physical IC cards.

Official guidance checked 2 October 2026

Back to ticket and IC-card basics →

6Handle errors & finish your trip

A traveler showing a transport card to station staff

If the gate refuses entry or exit, move aside and show staff the card or phone and where you boarded. Do not switch to a second card to exit. Physical Welcome Suica cannot be reissued if lost; malfunction handling is separate. Check your product’s expiry and refund rules before a final top-up.

A low balance, an incomplete gate record or a device issue needs a different solution. If a phone is unusable during a journey, speak to staff rather than assuming battery-reserve features will work.

Remember this!
  • Ask staff before trying another card.
  • Check expiry before your final top-up.
See the steps and checks
  1. Record your card/service details privately before travel and keep access to its official support.
  2. For Welcome Suica Mobile, check the in-app expiry: its remaining balance expires with the card and the validity cannot be extended.
  3. Regular Suica has different refund rules. Do not assume deleting a card from Wallet refunds its balance.

Official guidance checked 2 October 2026

✿ Summary ✿

Check your trip length, device and payment options before issuing a card. Physical Welcome Suica and Welcome Suica Mobile have different expiry rules. Top up gradually, check the route and extra train tickets, and ask staff with the same card or device if something goes wrong.

Prepare your Suica — illustrative travel scene